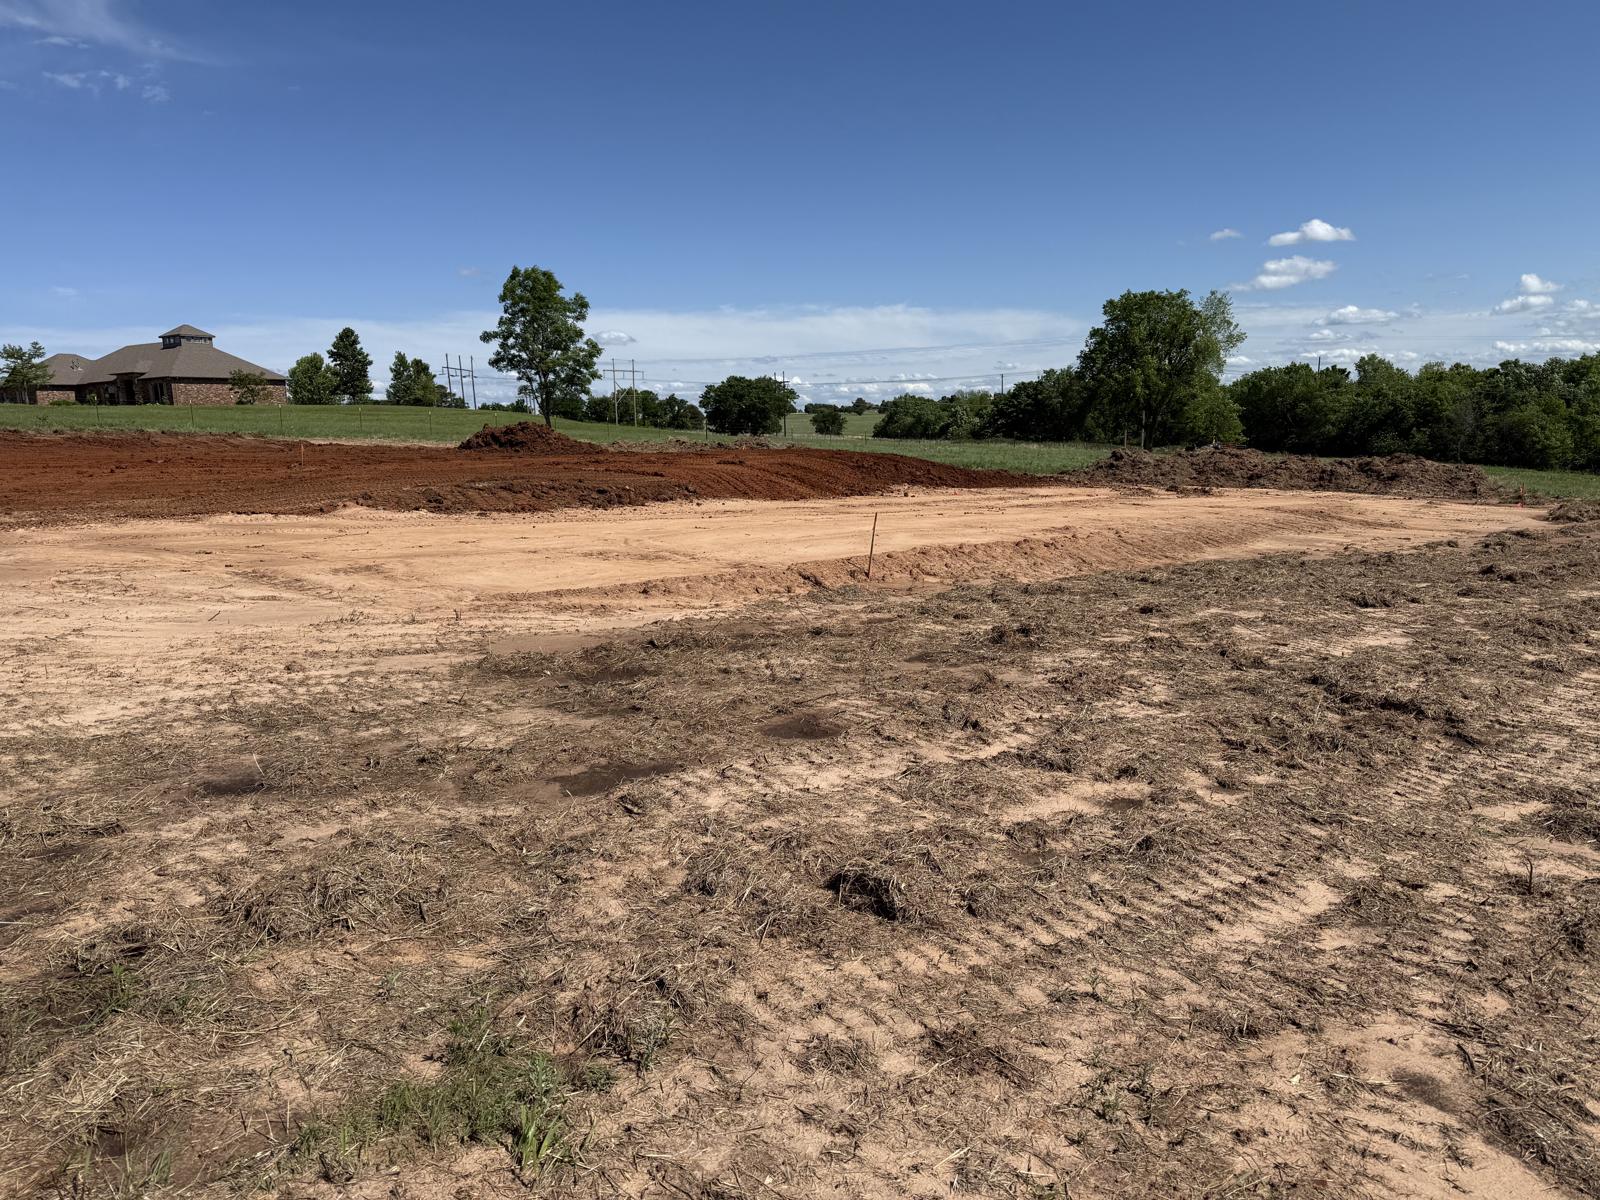
How to Prep a Building Pad in Edmond Before Summer Storms Hit
Edmond gets hit hard when spring rolls into summer. We’ve seen 4 inches of rain dump in an afternoon, turn a half-finished pad into a mud pit, and set a build back three weeks. If you’re planning to break ground between now and September, the prep work you do before the storms roll in is what separates a clean foundation pour from a expensive do-over.
This is the stuff we tell every homeowner and small builder who calls us about building pad construction Edmond OK. It’s not complicated, but the order matters and the details matter more.
Why Edmond Soil Makes This Tricky
Most of Edmond and the surrounding areas — Deer Creek, north OKC, parts of Guthrie — sit on a mix of clay and clay loam. That soil holds water like a sponge and swells when wet. When it dries, it shrinks and cracks. Build a pad on top of soil that hasn’t been properly compacted and drained, and you’ll watch your slab move with the seasons.
It’s different further west. Out toward Yukon, Piedmont, and Kingfisher you’ll hit sandier soil that drains faster but doesn’t hold compaction the same way. El Reno and Cashion are somewhere in between. The point is, you can’t run the same playbook on every site. The pad prep needs to match what’s under your boots.
Step 1: Clear the Site Right the First Time
Before you can think about a pad, you need clean dirt to work with. That means trees, stumps, brush, old fence lines, buried debris — all of it has to go. We’ve pulled up everything from old septic lines to buried tires on lots in Edmond and Mustang where the previous owner just bulldozed stuff and covered it.
If you’ve got a wooded lot, get the Land Clearing done early — ideally a few weeks before you want to start the pad. That gives you time to deal with stump holes, settle the disturbed ground, and haul off debris without mud getting in the way.
Don’t skip the topsoil stripping either. You want that organic layer scraped off and stockpiled (or hauled away). Building on topsoil is a recipe for settlement problems no matter how well you compact above it.
Step 2: Get Your Grades and Drainage Figured Out Before You Build Up
This is where most DIY pads go wrong. People dump fill dirt, shape a pad, and then think about water afterward. By then it’s too late.
Before any fill goes down, you need to know:
- Where is water coming from when it rains hard?
- Where is it going to go once your pad is in the way?
- Is the natural slope going to push water toward the pad or away from it?
In a lot of Edmond neighborhoods, especially the newer builds north of 2nd Street and out toward Coffee Creek, lots are tighter and runoff from a neighbor’s roof can dump straight onto your build site. You need to plan for that. Swales, French drains, surface grading — figure it out on paper first.
If you’re not sure what your site’s doing, this is worth getting a contractor out to walk it with you. Good Drainage Solutions installed before the pad goes in cost a fraction of what they cost after the house is up.
Step 3: Build the Pad in Lifts and Compact Every One
Here’s where the actual pad work happens. The rule is simple: 6 to 8 inch lifts, compacted properly, until you’re at finish grade.
What “Compacted Properly” Actually Means
A lot of guys will dump fill, run a skid steer over it a couple times, and call it good. That’s not compaction. That’s driving on dirt.
Real compaction means:
- A vibratory roller or sheepsfoot for cohesive soils (which is most of Edmond)
- Moisture content close to optimum — too dry and it won’t bind, too wet and you’re just churning mud
- Density testing if it’s a critical structure (we run a nuclear gauge on commercial work and on residential when the customer wants it)
Skip the testing on a small shed pad if you want, but for a house, a shop, or anything with a slab over 1,000 square feet — get it tested. It’s cheap insurance.
Crown the Pad
This is the part homeowners always ask about. Yes, your pad should have a slight crown — usually 1 to 2 inches from center to edge, depending on size. That way when summer storms hit before your slab is poured, water sheds off instead of pooling in the middle.
Step 4: Protect the Pad Before the Rain Comes
Once the pad is built and compacted, you’ve got a window. In Edmond, that window in May or June can be a few days. After that, a storm is coming.
A few things we do to protect a finished pad:
- Compact the surface tight. A smooth, hard-rolled surface sheds water way better than a loose one.
- Cut perimeter drainage. A simple ditch around the pad that ties into the natural drainage of the lot keeps standing water away from the toe of the fill.
- Cover with plastic or straw if a big system is rolling in. Not always practical on a big pad, but for a smaller one waiting on a foundation crew, it helps.
- Keep equipment off it after compaction. Every track and tire mark is a low spot where water will pool.
If you do get hit with a downpour and the pad takes on water, don’t just ignore it and build on top. Let it dry, scarify the surface, re-compact. Yeah, it’s a pain. It’s still cheaper than fixing a cracked slab.
Step 5: Don’t Forget Access
Sounds obvious but I see it missed all the time. You need a way for concrete trucks, framers, and material deliveries to get to your pad without tearing up the yard or getting stuck.
A temporary Gravel Driveways install — even just a few loads of crushed rock on geotextile fabric — saves you headaches all summer. We’ve done this on builds in Piedmont, Moore, and out near Cashion where the lot access was a mud trap every time it rained. The gravel pays for itself the first time a concrete truck doesn’t get stuck.
Common Mistakes We Get Called to Fix
Just so you know what not to do, here’s what we see most often:
- Pad built too small. Always extend the pad at least 3 to 5 feet beyond the foundation footprint. Otherwise the edges erode and undermine your slab.
- No transition between pad and existing grade. A vertical drop-off at the edge of fresh fill will erode every storm. Slope it out at 3:1 or flatter.
- Building on wet fill. If the dirt sticks to your boots in clumps, it’s too wet to compact. Wait it out.
- Mixing fill types. Don’t dump red clay on top of sandy fill on top of black topsoil. Use consistent material or you’ll get differential settlement.
When to Call Somebody
If you’ve got a flat, dry lot, a small structure, and decent equipment, you can prep a pad yourself. We’re not going to pretend otherwise.
But if you’re dealing with any of this — a lot with grade changes, drainage issues from neighbors, heavy clay that needs proper compaction, or a build over 1,500 square feet — get a contractor involved. Proper Site Preparation ahead of a real Oklahoma summer storm season isn’t where you want to learn lessons the hard way.
Get Your Pad Done Right Before Storm Season
We work building pads across Edmond, Oklahoma City, Yukon, Mustang, Piedmont, Deer Creek, Guthrie, and the surrounding areas. Whether you’re putting up a custom home, a shop, or a barndominium, we’ll walk your lot, give you straight answers about what your soil needs, and build you a pad that holds up.
Call 405 Dirt Services or request a free estimate online. The earlier you book in spring, the better — our calendar fills up fast once the weather breaks. Let’s get your site ready before the storms get here.
