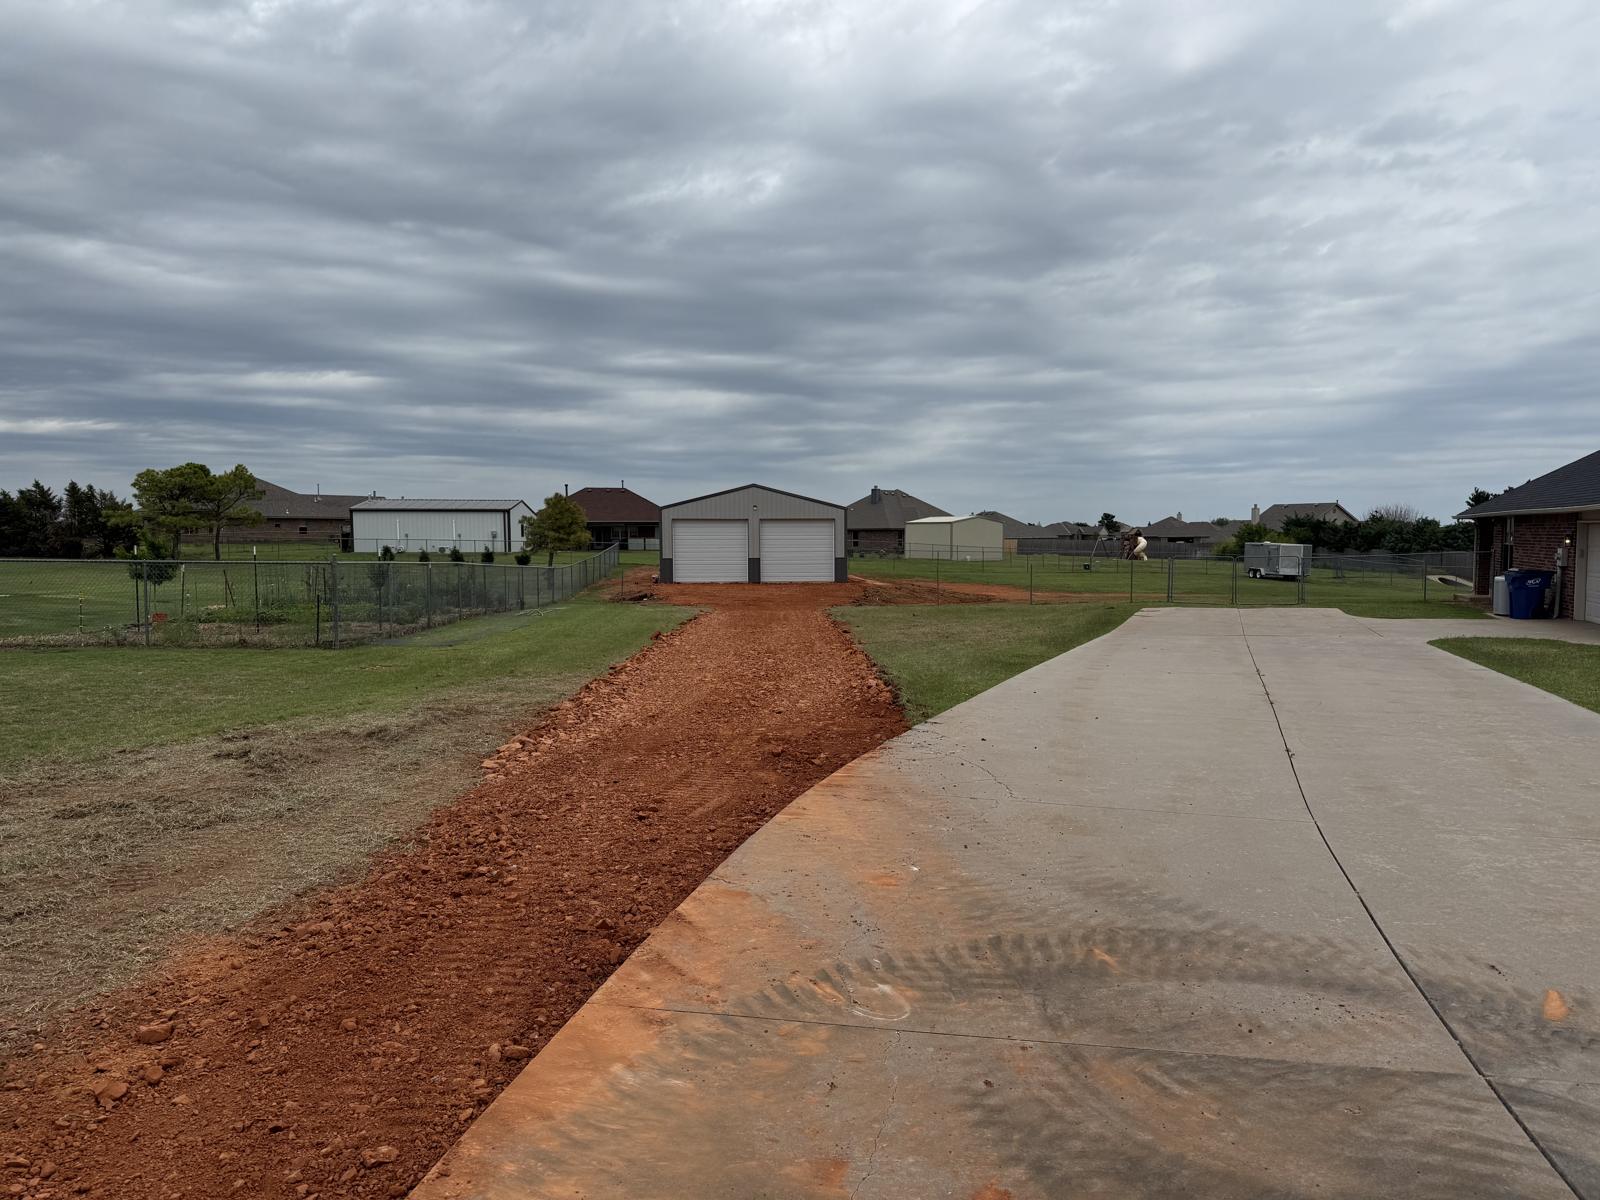
Setting a Dirt Pad for a Mobile Home: How to Get It Right the First Time
Setting a mobile home on a bad pad is one of the most expensive mistakes you can make as a homeowner. Once that home is anchored down and the skirting’s on, fixing a settling or shifting pad means jacking the whole thing back up, pulling skirting, and paying someone to redo what should have been done right the first time. We see it all the time out here — somebody had a neighbor with a tractor push some dirt around, called it good, and two years later the doors won’t close.
A proper dirt pad isn’t complicated, but it has to be done with the right dirt, the right compaction, and the right drainage plan. Here’s what you actually need to know before you set a mobile home on any property around Oklahoma City, Yukon, Piedmont, or anywhere else in central Oklahoma.
What a Dirt Pad Actually Is
A dirt pad is the compacted earth foundation your mobile home sits on. It’s not just a flat spot — it’s an engineered base that has to do three things:
Support the weight of the home without settling
Shed water away from the structure
Stay stable through Oklahoma’s freeze-thaw cycles and clay soil movement
Around here, that last point is the killer. Our red clay expands when it’s wet and shrinks when it’s dry. If your pad is built on untested native soil or loose fill, you’re going to get movement. Movement means cracks, sticking doors, and eventually foundation repair bills.
Why “Near Me” Matters When Searching for a Dirt Pad Contractor
When people search for a dirt pad for mobile home near me, they’re usually looking for someone local for a reason — local contractors know the soil. The ground in Edmond isn’t the same as the ground in El Reno. Guthrie and Cashion have different drainage characteristics than Moore or south OKC. A contractor who works these areas day in and day out knows where the clay gets heavy, where you hit rock, and where water tends to pool after a storm.
Hiring someone from two hours away who doesn’t know local soil conditions is how you end up with a pad that looked perfect on day one and failed by the second rainy season.
Step 1: Site Evaluation and Clearing
Before any dirt moves, the site needs to be walked. We look at:
Natural drainage patterns (where does water go in a heavy rain?)
Existing vegetation, trees, and stumps
Soil type and depth to hard pan or rock
Setback requirements from property lines, septic, and wells
Access for equipment and delivery trucks
If the lot has trees, brush, or old structures, that’s got to go first. Land Clearing on a raw lot out near Piedmont or Kingfisher can be a project by itself — you’re not setting a pad on top of root balls and buried stumps unless you want sinkholes later.
Step 2: Stripping the Topsoil
This is where a lot of shortcut jobs fail. Topsoil is organic — it’s full of roots, leaves, and decaying material. It compresses over time. If you build a pad on top of topsoil, the whole thing is going to settle unevenly as that organic material breaks down underneath.
The right way: strip 6 to 12 inches of topsoil off the entire pad footprint, plus a few feet of buffer around it. Haul it off or stockpile it for later landscaping use. You want to be down to solid, mineral subsoil before you start building up.
Step 3: Bringing in the Right Fill
Not all dirt is the same. For a mobile home pad, you want select fill — typically a clay-sand mix that compacts well and drains reasonably. Pure sand won’t hold its shape. Pure clay holds too much water and swells. The sweet spot is something with enough clay to bind and enough sand or gravel to drain.
Around Oklahoma City, we source fill from local pits we trust. Cheap dirt from an unknown source often comes loaded with roots, trash, or expansive clay that’ll give you problems. If a price seems too good, ask where the dirt’s coming from.
Step 4: Compaction in Lifts
This is the part most DIY and cut-rate jobs get wrong. You cannot dump three feet of dirt in a pile and drive a tractor over it and call it compacted. The dirt at the bottom is still loose.
Proper compaction is done in lifts — usually 6 to 8 inches at a time. You bring in a layer, run a sheepsfoot or vibratory roller over it until it’s tight, check moisture content, then bring in the next lift. For a typical mobile home pad, you might have 3 to 5 lifts depending on how much fill you need.
This is the core of real Building Pad Construction — and it’s why a properly built pad costs more than a guy with a skid steer pushing dirt around for an afternoon. The equipment and the time matter.
Step 5: Sizing the Pad Correctly
A mobile home pad should extend at least 2 feet past the footprint of the home on all sides. For a 16x76 single-wide, that means your pad should be at least 20x80. For a double-wide, plan accordingly.
The pad should also be crowned — higher in the middle than at the edges — so water runs off instead of pooling under the home. A slope of about 1 to 2 percent is usually right. You also want the finished pad to sit 8 to 12 inches above the surrounding grade so runoff from rain doesn’t wash back under your home.
Step 6: Drainage Around the Pad
Water is the number one enemy of any foundation. Even a perfect pad will fail if water is allowed to pond against it or run under it. Depending on the lot, you may need:
Swales to divert runoff around the pad
French drains if you’re in a low spot
A gravel apron around the perimeter
Tie-ins to existing culverts or ditches
On properties out toward Mustang, Deer Creek, and the rural spots around Guthrie, drainage is often the make-or-break factor. We’ve redone pads where the original builder ignored a natural drainage path and the homeowner ended up with standing water under the home every spring. Good Drainage Solutions built in at the start cost a fraction of what repair work costs later.
Step 7: The Driveway and Access
Once the pad is in, you still need to get to it. A gravel drive sized for delivery trucks, propane trucks, and eventually the mobile home transport itself has to be planned. A 12-foot wide drive with proper base is the minimum for most rural mobile home sites. Soft spots, sharp turns, and steep grades will cause problems when the transport crew shows up with a 76-foot home on wheels.
What to Expect on Cost and Timeline
A typical mobile home pad in the OKC metro — Edmond, Yukon, Moore, and surrounding — runs anywhere from a few thousand to well over ten thousand depending on:
How much clearing is required
How much fill needs to be imported
Drainage work needed
Distance from the road and access challenges
Rock or difficult subgrade
Timeline-wise, most pads take 2 to 5 working days once we’re on site, weather permitting. Wet weather stops everything — you can’t compact saturated dirt.
Questions to Ask Any Pad Contractor
Before you hire anyone to build your pad, ask:
Are you stripping topsoil before filling?
Where is the fill dirt coming from?
How are you compacting, and in what lift thickness?
How are you handling drainage?
Do you have references for mobile home pads specifically?
If the answers are vague, keep looking.
Get It Done Right the First Time
If you’re setting a mobile home anywhere from Oklahoma City out to Kingfisher, Cashion, or El Reno, we can help you build a pad that’ll hold up for the life of the home. 405 Dirt Services has been doing this kind of work across central Oklahoma for years, and we know the soil, the weather, and what it takes to get it right.
Call us or request a free estimate — we’ll come look at your site, talk through what you need, and give you an honest price. No surprise add-ons, no corner-cutting. Just a solid pad built the right way.
